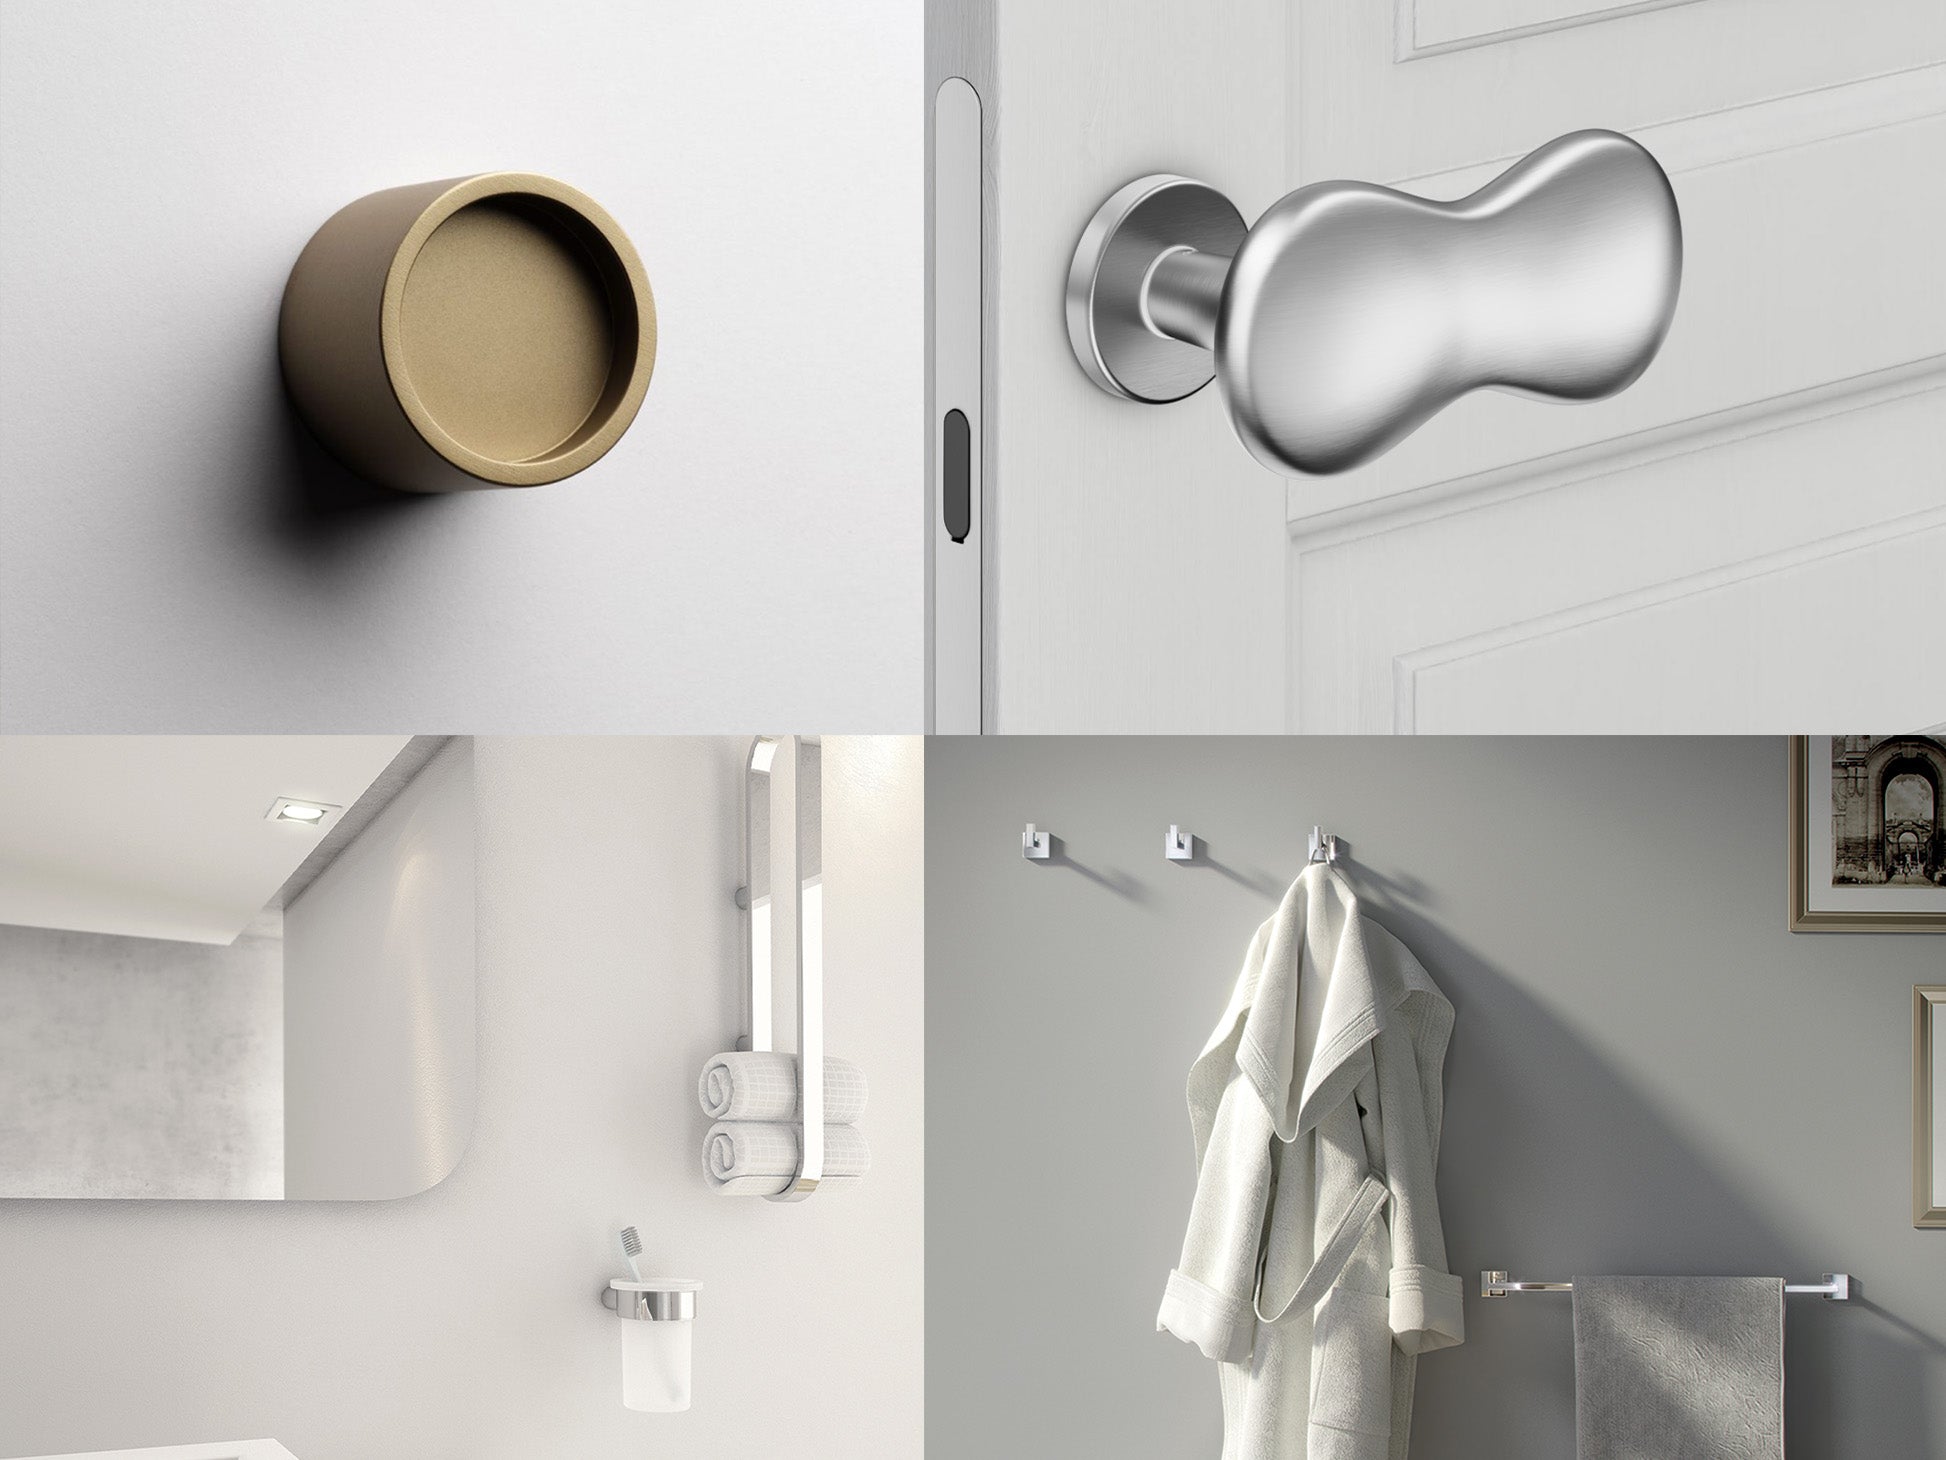

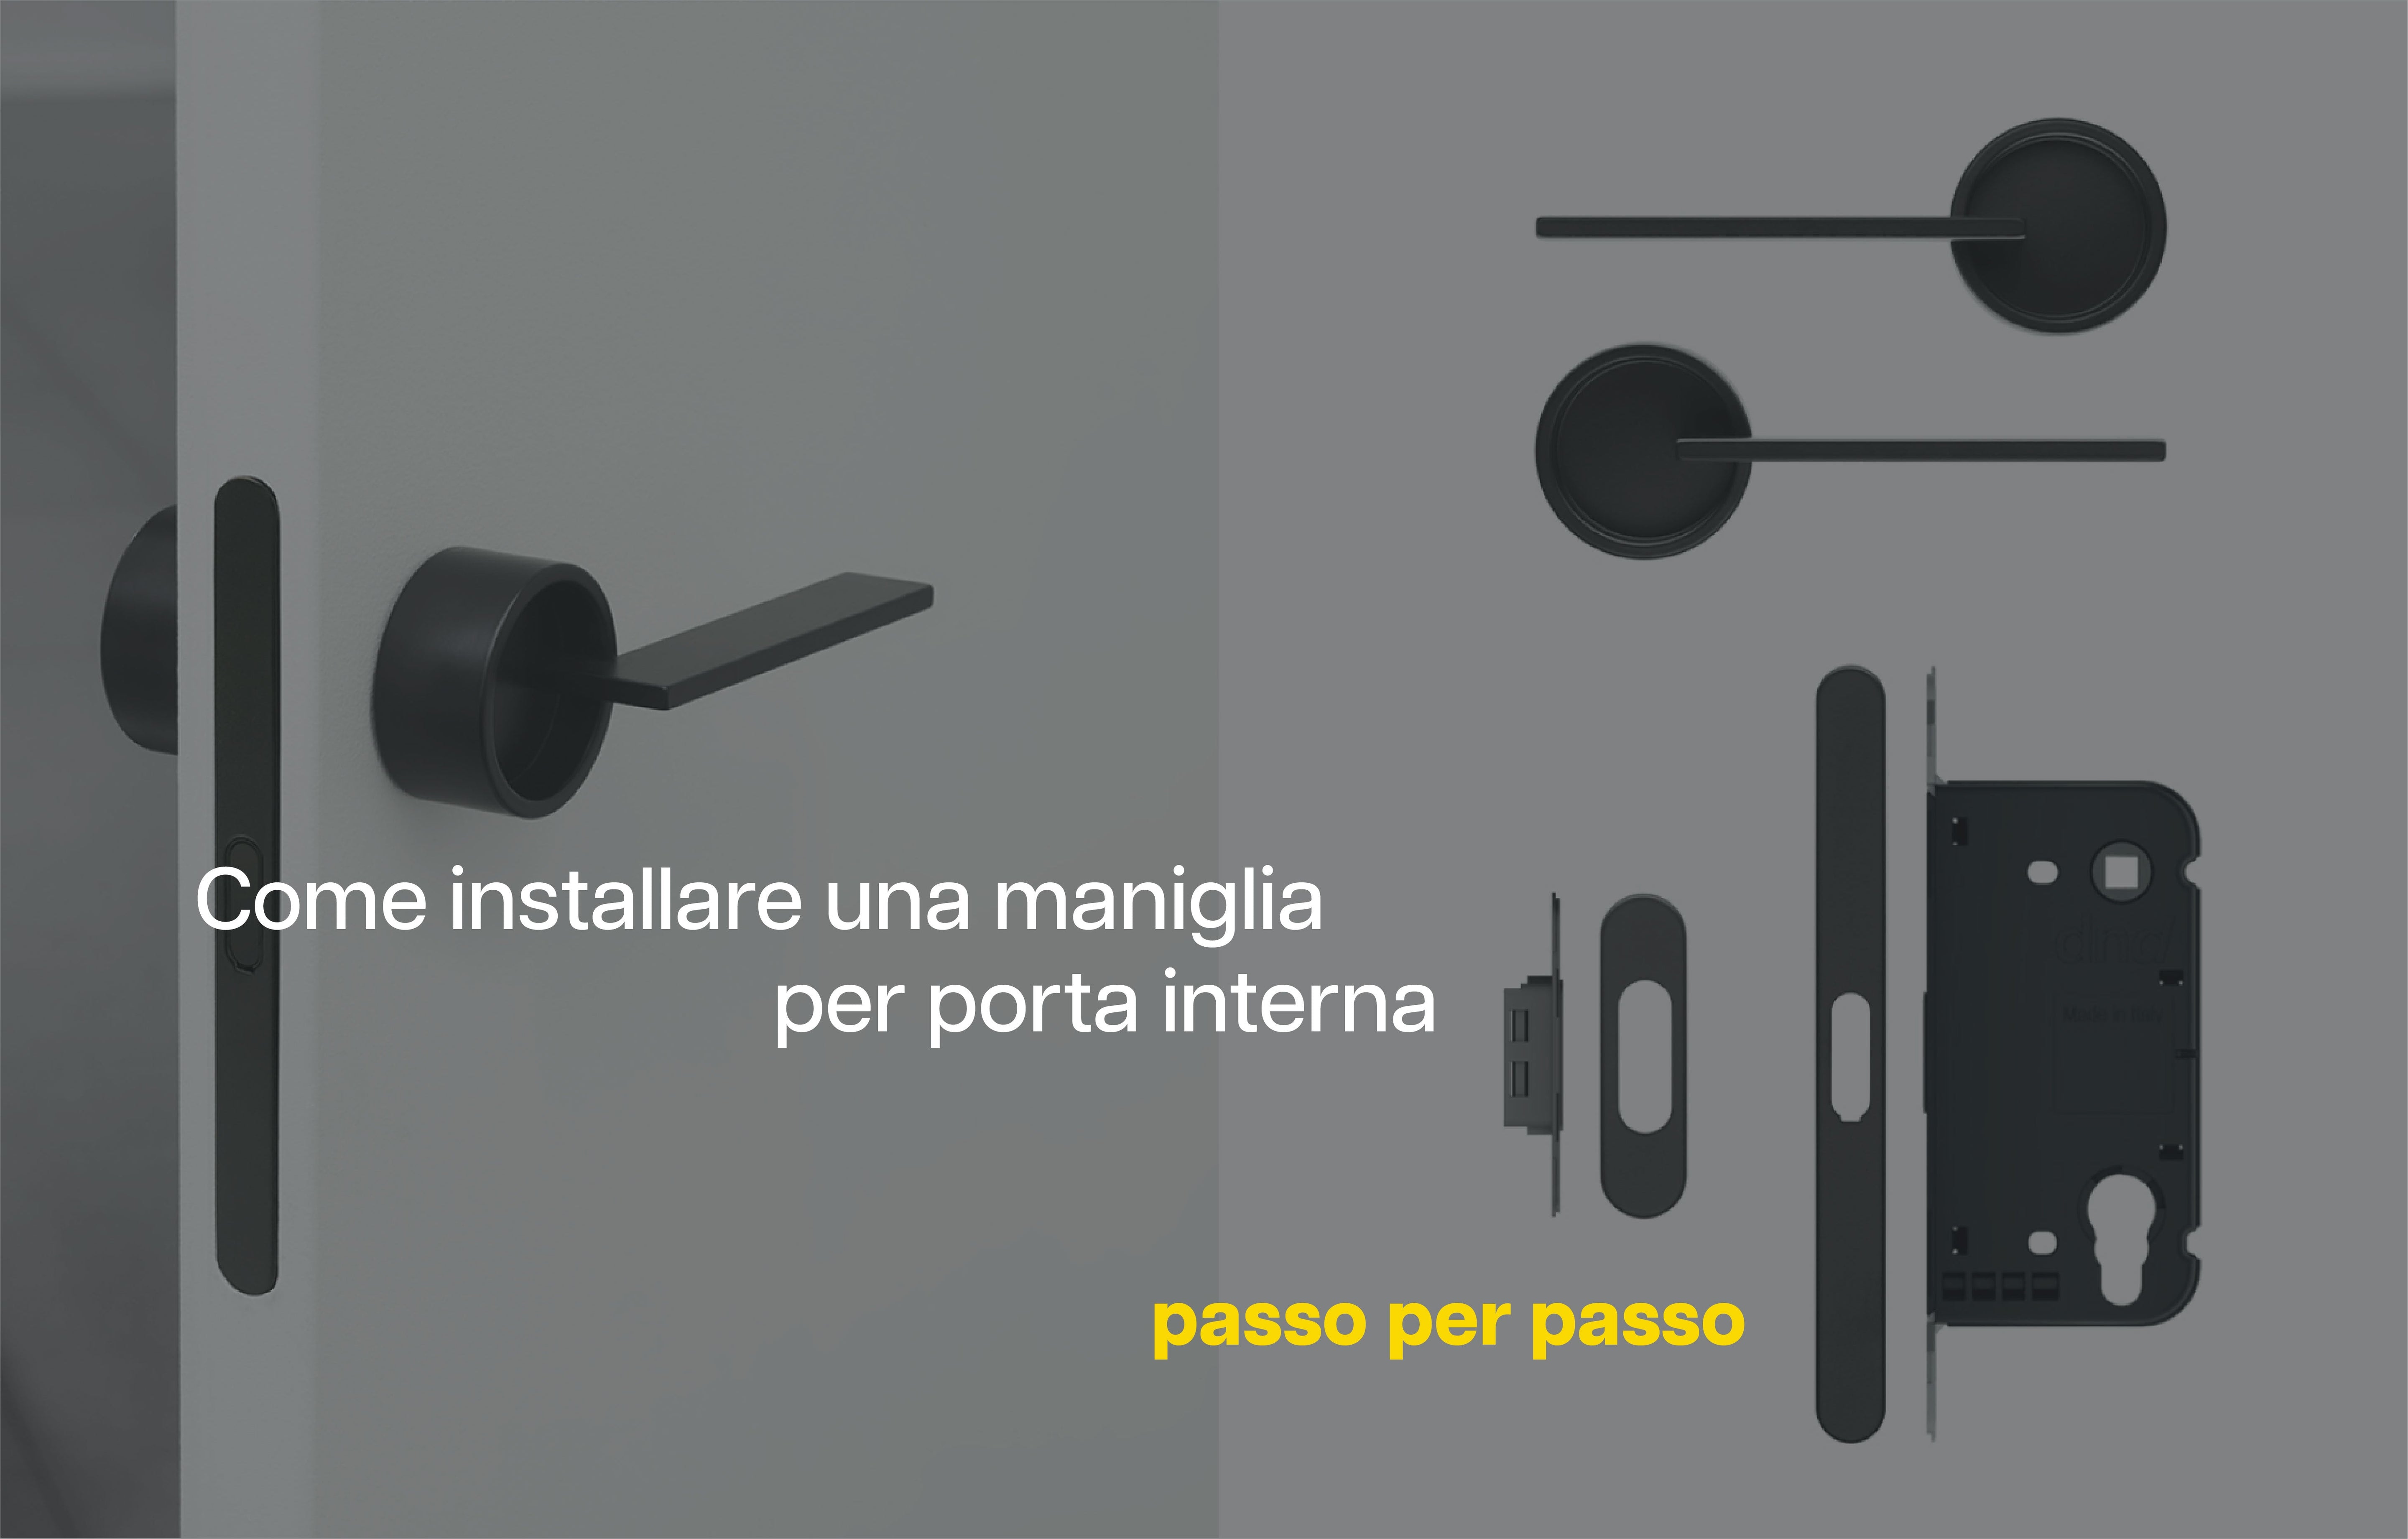
How to install an interior door handle: step by step
Installing an internal door handle is a simpler operation than one might think and, in most cases, does not require special skills or professional tools. Knowing how to install a door handle independently not only saves time and money but also allows for easy management of any replacements or aesthetic updates within one's home.
Before starting, it is important to have all the necessary tools available. In most cases, a screwdriver, an Allen key, and, if necessary, a tape measure to check measurements are sufficient. Only in particular situations might a drill be needed, for example, if the holes are not perfectly aligned or if a handle is being installed on a new door.

STEP 1
The first step is to dismantle the old handle, if present. This phase requires attention but is quite intuitive: simply locate and unscrew the screws that hold the handle to the door, remove the plate or rosette, and pull out the central spindle. A useful tip is to take a photo before dismantling everything, to have a visual reference during reassembly.
STEP 2
Once the old handle has been removed, you can proceed with installing the new one. The initial step involves inserting the square spindle into the lock mechanism. Subsequently, the two handles are positioned on the sides of the door, ensuring they are correctly aligned. At this point, the fixing screws are inserted and tightened, without excessive force to avoid damaging the components or compromising the lever's movement. Finally, the rosettes or plate are applied, thus completing the assembly.

After installation, it is essential to perform a final check. The handle must move smoothly, without friction or resistance, and must easily return to position after being pressed down. It is also important to check that it is stable and does not have any play or abnormal movements. If something is not perfect, simply adjust the screws slightly to achieve an optimal result.
ERRORS TO AVOID
During assembly, there are some common mistakes to avoid. Overtightening the screws is one of the most frequent and can compromise the handle's functionality. Also, mounting components backward or not checking alignment can cause problems over time. For this reason, it is always advisable to proceed calmly and check each step.
In some cases, however, it may be better to contact a professional. If the door is damaged, if the lock is particularly complex, or if the holes do not match, the intervention of an expert can avoid further complications.
In conclusion, installing an internal door handle is an operation within everyone's reach, requiring few tools and a few minutes. With a little attention and following the right steps, it is possible to achieve a precise, functional, and durable result, while also improving the appearance and practicality of domestic environments.

